Procedure Overview
This standard operating procedure describes at a high level how to register a Migration Object Data Source (dsw* database) in the Stewardship Tier. Syniti recommends that a Migration Object database is created for each Wave/Process Area combination and that the database and the Migration Object Data Source's naming convention follows the Wave / Process Area's naming. For example, if there was a Wave called WAVE1 with Process Area P2P, then the recommended name of the database and Migration Object Data Source would be dswWAVE1_P2P.
The procedure is a high-level document designed to guide the user on best practice. For more detailed information consult the online help.
Dependencies
Before this activity is performed, the associated dsw* database must be created in the MS SQL Server instance associated with the Stewardship Tier installation. It’s recommended that the creation of the databases is done by a DBA (database administrator) to ensure that file locations, sizing requirements and maintenance (such as backup) considerations are applied.
Who Performs this Procedure?
Typically, this procedure is performed by someone administering the ADM Platform.
Users assigned the following roles would typically have access:
- Migration Developer Advanced
- System Administrator
Procedure Steps
To create the Migration Object Data Source Registry:
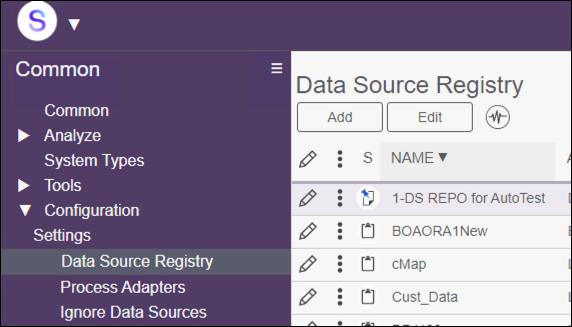
- Navigate to Common > Configuration > Data Source Registry.
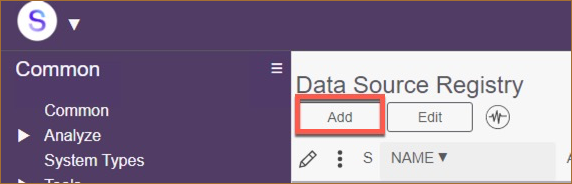
- Click the Add button. Your new entry displays in the Horizontal View.
- Populate the fields:
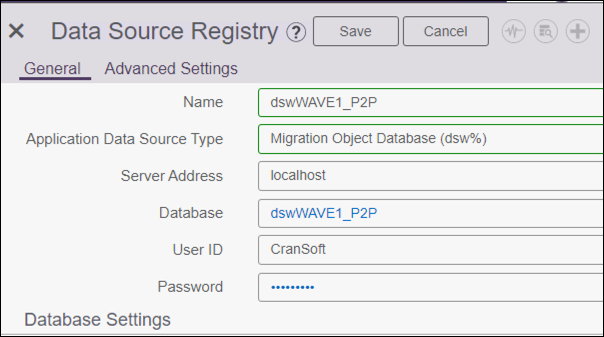
- Name—Required—The Data Source name should be the same as the associated database, starting with dsw%.
- Application Data Source Type—Required—Select ‘Migration Object Database (dsw%).
- Once completed click Save. The Vertical View displays.

- On the General tab, populate the fields:
- Server Address—Required—Enter the server name of the SQL Server instance
- Database—Required—Enter the name of the dsw* database (should be the same as the Name)
- User ID—Required—Enter the SQL Server User used by the Stewardship Tier
- Password—Required—Enter the password associated with the User ID
- On the Advanced Settings tab, populate the fields:
- Connection Timeout—Required—Leave default value
- Command Timeout—Required—Leave default value
- System Views—Required—Ensure this is checked
- Once completed click Save. The Migration Object Data Source is now created.
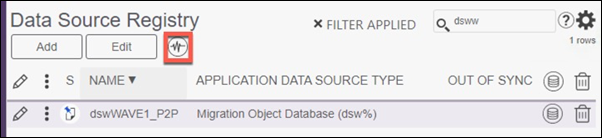
- Click the Test Connection button to ensure the Data Source is connected to the database correctly.