
The steps below describe how to migrate Data Workbench 9.x or 10.0 to a new server running Data Workbench 10.0.
Download Syniti Data Workbench 10 with the Install and Upgrade tool:
- In a web browser, go to: https://www.syniti.com/sdw-download-links/.
- Enter your Data Workbench key to access the downloadable files.
- Read and scroll to the end of the License Agreement page to accept the terms of the license agreement.
- On the Syniti Data Workbench Download page, click the 10.x_Automatic_Install_Upgrade.zip link to download a zip file containing the Installation Guide and a self-extracting setup file.
- Right-click on the downloaded zip file and choose Extract All to extract the files in the zip file to a folder of your choice.
Deactivate the Old Data Workbench Server
- From the Windows menu, run the Quadrate or Syniti Configuration and Diagnostic Utility.
- Click the Deactivate License
It is more efficient to deactivate online, if possible. If you need to deactivate via email, be sure to follow instructions and send the email. If you do not complete this step correctly, you will not be able to activate Data Workbench after installing the new version.
The steps from covered in this article depend on whether your SQL Server and QAS database are local or remote:
- Local SQL Server/QAS Database. Migrating both Data Workbench and SQL Server
- Remote SQL Server/QAS Database. Migrating both Data Workbench and SQL Server to new servers.
Local SQL Server/QAS Database
For environments where the SQL Server Instance is installed on the same Windows Server as the QAS service.
NOTE: The steps in this section should be followed if the SQL Server with the QAS database is running on the same server as the Install and Upgrade Tool. If the SQL Server and QAS database are remote, see the section below.
Back up QAS Database (when database is on current server)
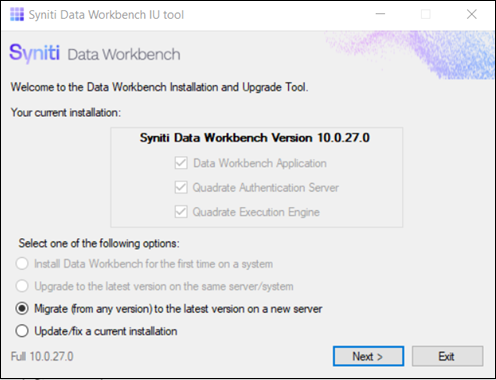
- Double-click on the self-extracting installation package (see step 5) exe.
The Syniti Data Workbench Install and Upgrade tool launches automatically. - Select the option Migrate (from any version) to the latest version on a new server.
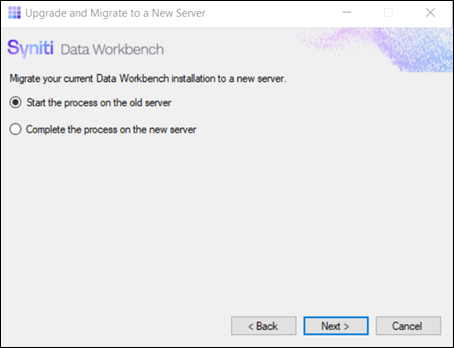
- Select Start the process on the old server.
- Enter the QAS database details.
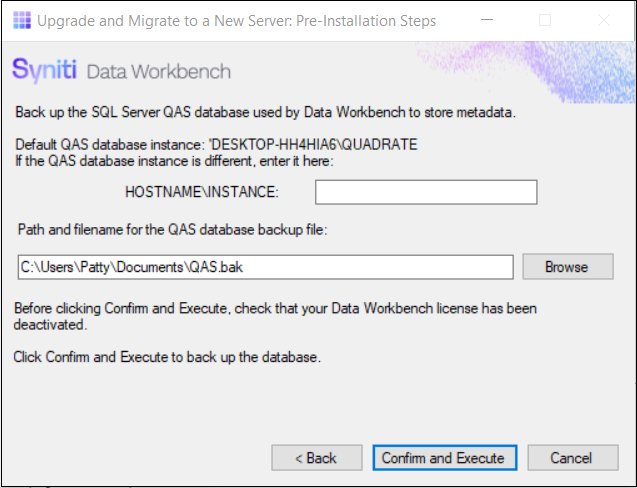
- Click Confirm and Execute.
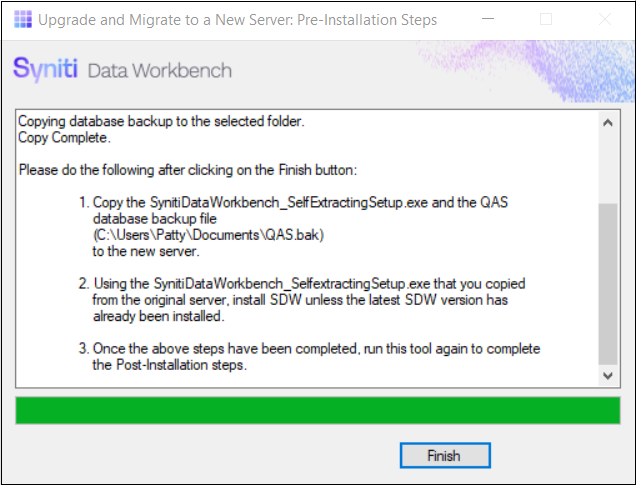
- Follow the instructions in the Install and Upgrade Tool to complete the migration. The instructions are repeated here for your convenience:
- Copy the SynitiDataWorkbench_SelfExtractingSetup.exe and the QAS database backup file (file_location) to the new server.
- Using the SynitiDataWorkbench_SelfExtractingSetup.exe that you copied from the original server, install SDW unless the latest SDW version has already been installed.
(Choose Install Data Workbench for the first time on a system and follow instructions in the Syniti Data Workbench Installation Guide) - Once the above steps have been completed, run this tool again to complete the post-installation steps.
(Run SynitiDataWorkbench_SelfExtractingSetup.exe again and choose Migrate (from any version) to the latest version on a new server, then choose Complete the Process on the New Server.)
New Remote SQL Server/QAS Database
For environments where the SQL Server Instance is installed on a different Windows Server from the QAS service.
NOTE: The steps in this section should be performed only if the SQL Server with the QAS database is running on a remote server.
- On the system running SQL Server with the QAS database, make a backup of the QAS database using SQL Server tools.
- Install SQL Server on the new system. See page 39 of the Syniti Data Workbench Installation Guide for instructions on using Data Workbench with a different SQL Server installation.
- Restore the QAS backup on the new database server using SQL Server tools.
- Use the Syniti Data Workbench Installation Guide to install the new Data Workbench Enterprise Server.
- See page 14 in the guide for step-by-step instructions on installing Data Workbench Enterprise Server.
- See page 39 for instructions on using Data Workbench with a different SQL Server installation.