
| Previous Article | matchIT SQL Index | Next Article |
1) To download the installer:
- If you are a client, log in and download the latest version of matchIT SQL here
- If you would like to evaluate the software, please reach out to us by requesting a demo.
2) Close SQL Server Management Studio (SSMS), SQL Server Business Intelligence Development Studio (BIDS) and/or SQL Server Data Tools - Visual Studio (SSDT) before starting the install.
Run the .exe you downloaded and click Next.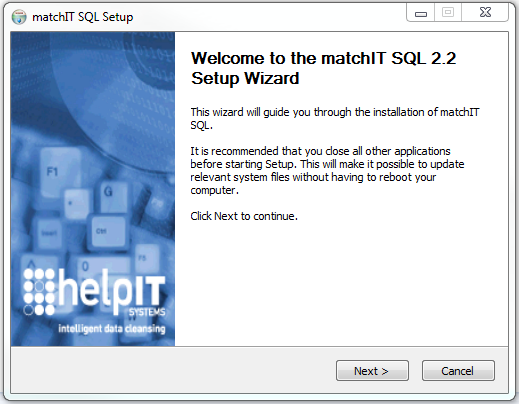
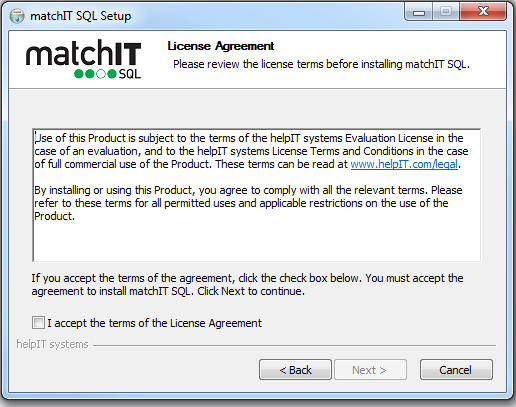
3) Accept the terms and click Next.
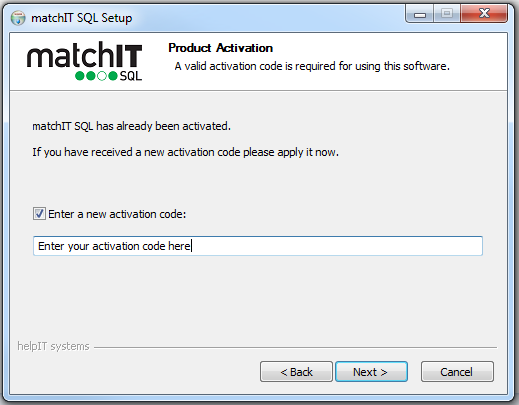
4) Enter the activation code you received from our accounts team, or your account manager if you've requested a demo and talked to them about your requirements.
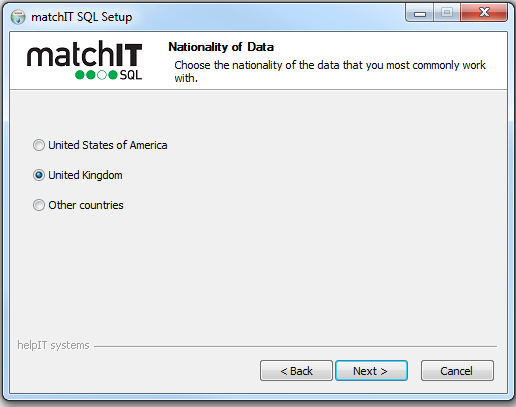
5) Choose your Region. In most cases, we suggest choosing United Kingdom.
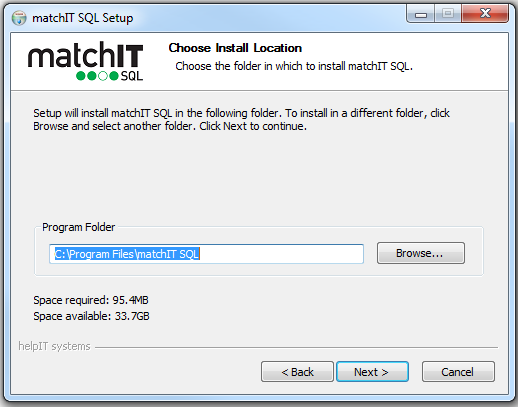
6) Choose your install path
You can change the install directory here now if needed. If you need to change it later you need to uninstall/reinstall.
If you install on a test/QA machine as well as production, we highly recommend you keep paths consistent across environments. It is common for enterprise DBA's to want to install matchIT SQL to a separate data drive separate from the OS. Make sure your Test/QA environments also have a separate data drive partition of the same name if that's the case. If your Test/QA environments do not have a separate data drive partition, you will receive errors when moving packages across machines unless you first edit certain paths.
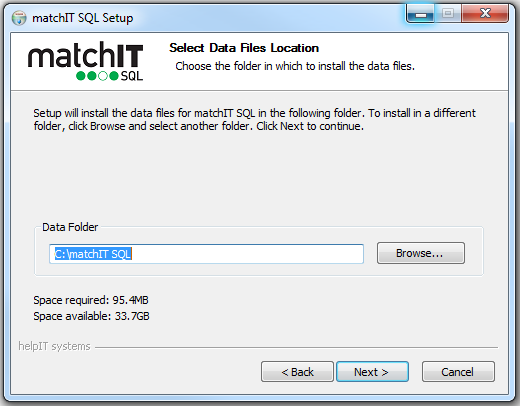
7) Choose your data folder
If you are installing on a test/QA machine as well as production, we highly recommend you keep paths consistent across environments.
8) Choose to disable the web server for Web UI as it is no longer supported.
If this is a production server, we suggest choosing Disable.
If it’s a test/dev/qa machine you can install it. But, if you do not have IIS it will launch setup to add an IIS to your machine and you set the password here for the UI.
If you're planning on using SSIS only, we also suggest Disable.

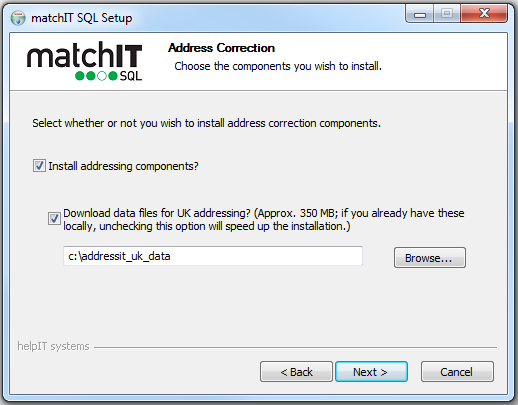
9) If you purchased the addressIT module you will see this below. If you did not purchase addressIT then skip to the next step.
NOTE: Make sure to click to install addressing components.
If you trialed matchIT SQL without addressing, you'll need to rerun the installer and check this box.
If you are installing the addressIT module, please refer to the additional addressing instructions under step 15.
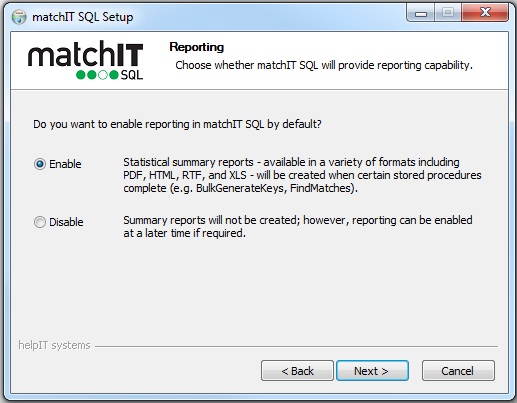
10) Reporting
You can enable the output of reports here which can be output in a number of different formats. If you choose to disable, you will have to reinstall and to enable reporting at a later date
11) Check For Updates
You can enable or disable automatic notification of matchIT SQL updates when they are released. If you enable this, a scheduled task is created and a message box displays notifying you when an update is available.
NOTE: This this will not update matchIT SQL automatically. It simply lets you know when an update is available on our website and it is up to you when to upgrade.

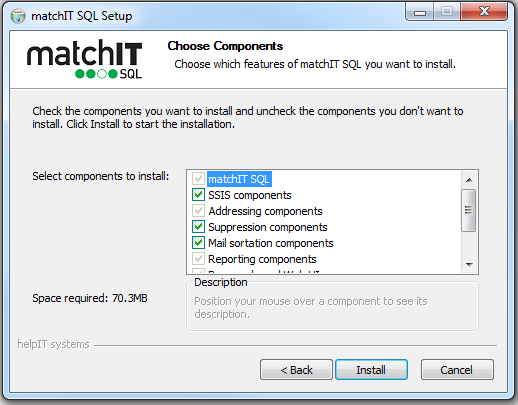
12) On Select Components to install, leave the default selections and click Install.
Let it run through the install. Near the end of the install process, another popup window displays.
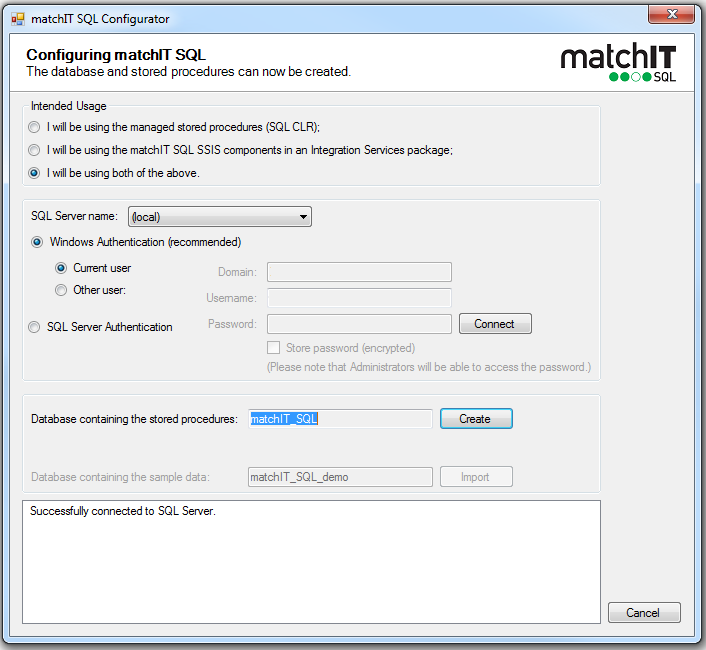
13) matchIT SQL Configurator
NOTE: If you don't have a local SQL instance, cancel out. The configurator does not work with remote instances (although matchIT SQL can with SSIS).
NOTE: If you don't want us creating databases with demo data and an assembly and stored procedures on your local instance, cancel out. There are scripts available that allow you to do this after install as well. However, then you need to remember to drop/recreate the assembly/SP's every time you reinstall or upgrade.
Otherwise, depending on what option you choose, it will try to import example data into a matchIT_SQL_demo database, It will create a separate matchIT_SQL database to house the assembly and stored procedures, or both.
If you're not sure, then we suggest choosing the 3rd option (both).
A) If you choose the first option, it will only make the matchIT_SQL database to house the assembly and stored procedures. Depending on how locked down your permissions are it's normally easiest to put in the SA user and use SQL authentication if you have that available. Otherwise, Windows authentication is fine for most standard users. You simply choose the local instance, click Connect and create, then exit out of the configurator.
B) If you choose the second option, it will only try to import the demo data into a matchIT_SQL_demo database. Windows authentication is normally fine for that. Choose your instance, click Connect, click Import, then exit out of the configurator.
C) If you choose the third option (both), then depending on how locked down your permissions are it's normally easiest to just put in the SA user and use SQL authentication if you have that available. Otherwise, Windows authentication is fine for most standard users. Choose your instance, click Connect, click Create, click Import, then exit out of the configurator.
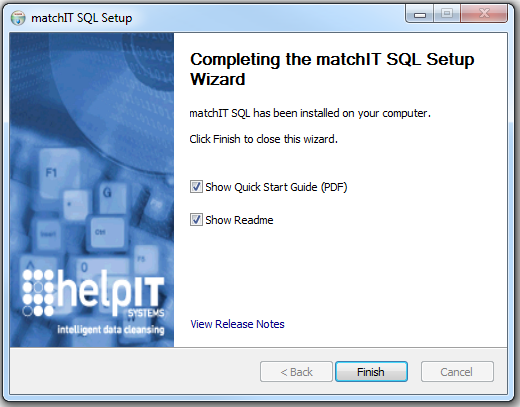
14)
At the end, you can choose whether or not to view Quick Start Guide and Readme. These can be accessed from the start menu at a later time.
NOTE: Acrobat Reader is required to access the Quick Start Guide and Readme files.
NOTE: Addressing will not work out of the box. Please follow the steps under option one in this article after installing matchIT SQL.
Permissions changes required to run addressIT:
Option 1: Allow it to work with both local and remote instances by setting the matchIT SQL Service to run as a domain level user
- Change the matchIT SQL Service to run as a domain user instead of the computer’s Local Service account.
- Create a login for this account within the SQL Server instance.
- For each database within the SQL Server instance that the address correction will need access to, create a user for the login and give it the ‘db_datareader’, ‘db_datawriter’, and ‘db_ddladmin’ database roles.
- Ensure that the domain user or Local Service account (whichever account is set to run the matchIT SQL Service) has Read/Write permissions to the tempFileDirectory. For more information on the tempFileDirectory click here.
The matchIT SQL Service can be configured from a command console as follows:
cd /d “C:\Program Files\matchIT SQL\bin”
matchITSQL /stop /uninstallmatchITSQL /install:
matchITSQL /install:domain\username:password /start
If you are uninstalling then reinstalling the software or installing elsewhere, the matchIT SQL service will be recreated using the default Local Service account. You will need to rerun the above steps after each reinstallation or upgrade (a batch script in a secure folder could be created for this).
If you're upgrading, when installation starts, simply stop the service and don’t delete it. When installation ends, restart the service. The installations uses the credentials it was last configured for; it won’t revert to the default Local Service account. You must run the full installer and it will update files with the newer version. Only one version of matchIT SQL can exist on a machine at a time.
Option 2: Only works with local instances
Additional configuration steps must be performed before the addressing stored procedure can be used The following steps show how to configure addressing with the example database, matchIT_SQL_demo:
- The built-in Local Service account must be given write access to the database. This is because the address correction actually occurs outside the stored procedure. It is run under the context of the matchIT SQL Service which, by default, uses the Local Service account (a low-privilege Windows service account).
- The account must be given the following roles for the matchIT_SQL_demo database: db_datareader, db_datawriter, and db_ddladmin. Alternatively, the account can be given the db_owner role instead of these three roles.
Here are the steps that should be run in the Management Studio:
USE [master]
GO
CREATE LOGIN [LocalService] FROM WINDOWS
GO
USE [matchIT_SQL_demo]
GO
CREATE USER [LocalService] WITH DEFAULT_SCHEMA=dbo
EXEC sp_addrolemember ‘db_datareader’, ‘LocalService’
EXEC sp_addrolemember ‘db_datawriter’, ‘LocalService’
EXEC sp_addrolemember ‘db_ddladmin’, ‘LocalService’
If the matchIT SQL service isn’t running as the Local Service account (as per the above recommendations), use the account name (i.e. domain\username) in place of LocalService.
Ensure the domain user or Local Service account (whichever account is set to run the matchIT SQL Service) has Read/Write permissions to the tempFileDirectory. For more information on the tempFileDirectory click here.
| Previous Article | matchIT SQL Index | Next Article |